Rdp 6.2.8250 for windows 7

So i went looking for a way to use the new rdp 6.2 in windows 7 and was unable to find an installer on microsoft website so i decieded to see if i could copy the files and get rdp to work. After several tries i was finaly able to get it to work :).

I included the files below.

rdp6-win7

on a vaild windows 8 machine:

create a new folder for files someone usb drive is a good palce,
inside this new folder make a folder called en-us and wbem

inside wbem create a folder called en-US (its important u have US captilized)

open Driveroot:\system32\

copy mstsc.exe,mstscav.dll in to the new folder on the usb

copy mstsc.exe.mui and mstscax.dll.mui from Driveroot:\system32\en-us to new folder\en-us

copy mstsc.mof and mstscax.mof from driveroot:\system32\wbem\ to new folder\wbem\

copy mstsc.mfl and mstscax.mof from driveroot:\system32\wbem\en-US\ to new folder\wbem\en-US


and u should be good to go.


Modding a Linksys NAS200 to stay cool.

I got the Linksys NAS200 a while back to hold all my music, movies, and TV shows. For a while it worked great and I really liked being able to do streaming and shit from it but I soon found out that the HDDs I had inside the unit where getting supper hot, even to the point that you couldn’t hold them. I of course had a to lose a HDD before I figured that out 🙁 I was just a little upset about this so I opened the unit up to find this weak little fan inside that as hard as it tried it just could not keep the drives cool. Then I decided to beef up the cooling system a little by adding another fan to the mix.

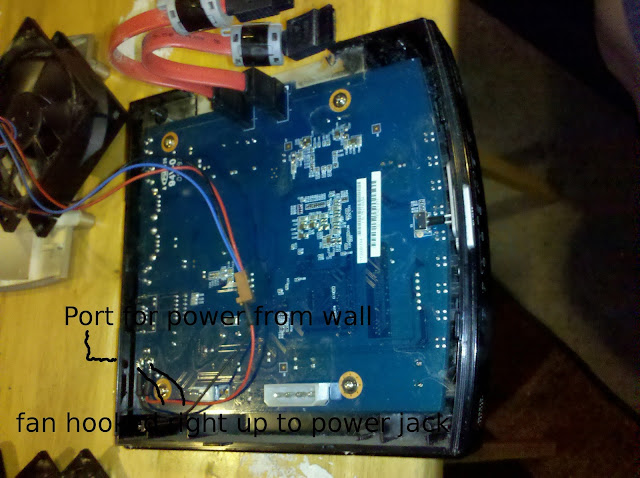
So I found 5v PC fan “for the cooling”, a hot iron “to cut/melt a hole for the fan”, a soldering iron and some solder, a screw driver, and hot glue. Now I would like to say I got it all right the first time around, but I can’t. Now the unit it self runs off of 5v so all I had to do was solder it to the board somewhere. My first attempt was a failure. I tried to solder the new fan to the same terminals that the little weak fan was using. While it did power the fan and work, the unit would eventualy stop responding. I figured the fan was drawing to much power to low in the chain. So I opened’er back up and moved the new fan to the start of the chain, I connected it right where the power comes into the unit. The unit it self runs on 5v and the Linksys power supply that came with it only gives out 5v so no worries there. Then all I had to do was put it all back together, hot glue the fan in place to suck the hot air out and turn it on.

My mod works great and it keeps my HDD’s nice and cool now 🙂 The only down side is it makes a little more noise now and I have to unplug the power from the unit to turn the fan off 😛 And now for some pictures.

Here is the hole I made with some info, the stock fan is on the other side of the unit:

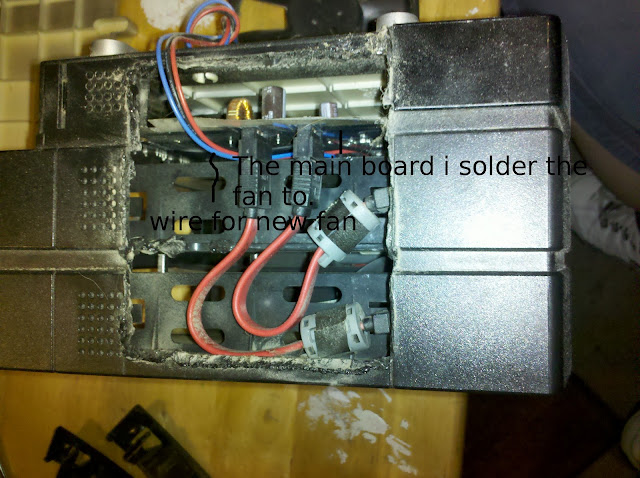
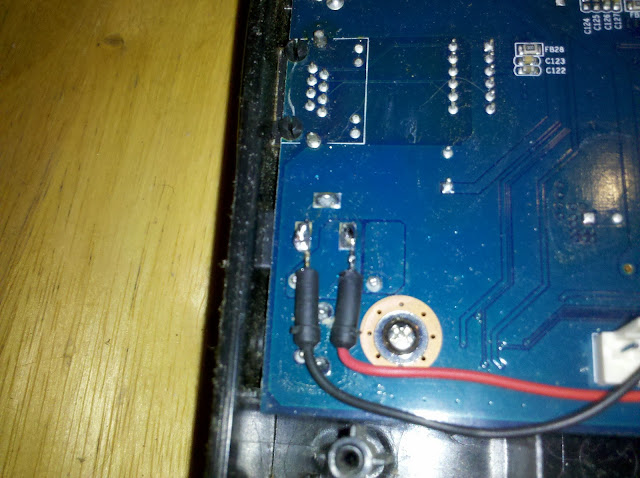
Here is the main board:

Another view of the board:

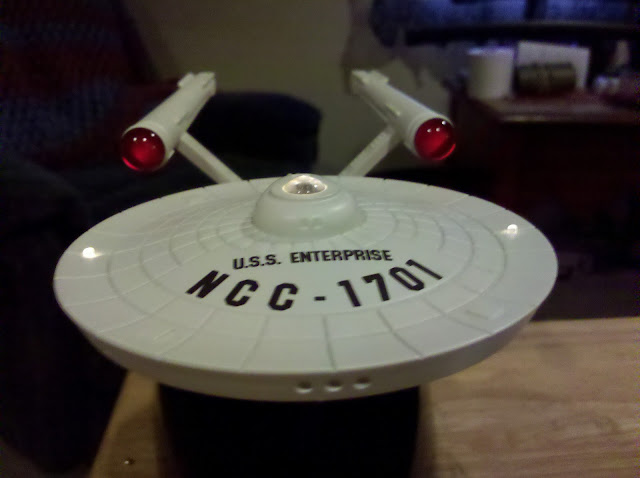
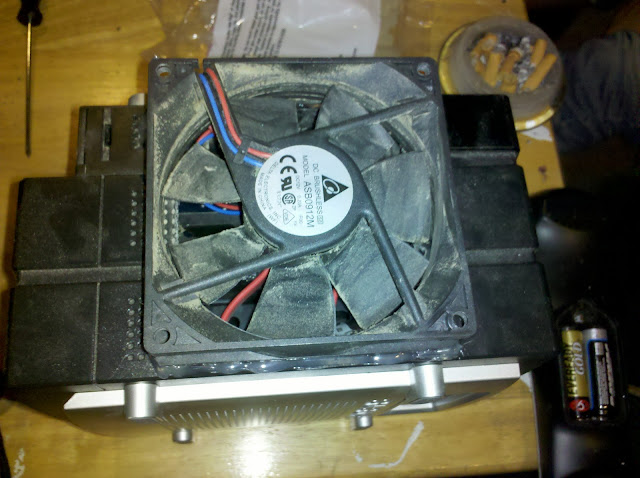
Here is the end result:

Another view of the end game:

K thats it, peace.

Sweet Star Trek Enterprise mod for the desktop.

So my wife got me this awesome Star Trek Enterprise model with working lights and a play able recording of the intro to the original series for $10 at a rummage sale. Only issue was the batteries have been in there for ages and was all busted open, acid all over, and crossion everywhere inside. I did my best to clean it all but still it was a mess. Rather then wasting more batteries I decided to make a little modification and have it run off of USB power! The voltage is just about the same, the model runs off 4.5v and USB outputs around 5v “this will vary from machine to machine, even port to port in some cases”. For example when I hooked it up to my laptop the brightness and everything was perfect, but when I connected to a desktop machine at work the lights got very bright and hot fast, I solved this by attaching a non-powered USB hub and connecting the model to that. Below are a few pictures I took from the mod. Ok that is it, enjoy!

Here is a close up of my new toy:

Here is the USB cable I used:

Here is the cable attached to the base:

Here is the cable soldered to the main board in the base:

And here is the finished project:

Repairing HP Ipaq hx2755 SDcard slot

I got the hx2755 a long time ago, back when it was top of the line and it served me well. One day the SDCard slot just stopped working but by that time i had a smart phone and didn’t use it much anymore, my kids used it more then i did. So for a long time it sat taking up space, i had intended to open it up for some time and try to fix it but never had a tool that would allow me to do so. Well i finally got off my ass and made my way to the local hardware store to find the tool i needed, the fucker was $5! So lets get to business! heres a little pick of the device before i opened it up:

So to start i turned it over, removed the battery and unscrewed the four screws i made arrows to in the pic below. One is hidden behind the stylist.

After i got the back off i had two more screws to remove “arrows pointing” and two wires to disconnect “arrows pointing”.

Now i could really open this sucker and take a look at the SDcard slot. Heres what i had to work with:

Now for me to see the pins i had to turn the main board back over and remove the tin shield over the expansion slot. Heres a pick of what im talking about “i put a circle around the shield”:

“Yes i did re-edit a image i already used, needless to say i fucked up lol”

Once i had it removed i was able to see a bent pin for the SDcard slot and used one of my tools to bend it back into place

Then i put it all back together. I was a little amazed it turned on let alone that it actually worked! So now that i have this little guy working like new “almost” again my next move is to put linux or something one it. Wish me luck 😀 Well thats how i repaired my hx2755s SDcard slot. Thats it for now, peace.